
Step: 1
Download the SAP LUMIRA Software from the below links
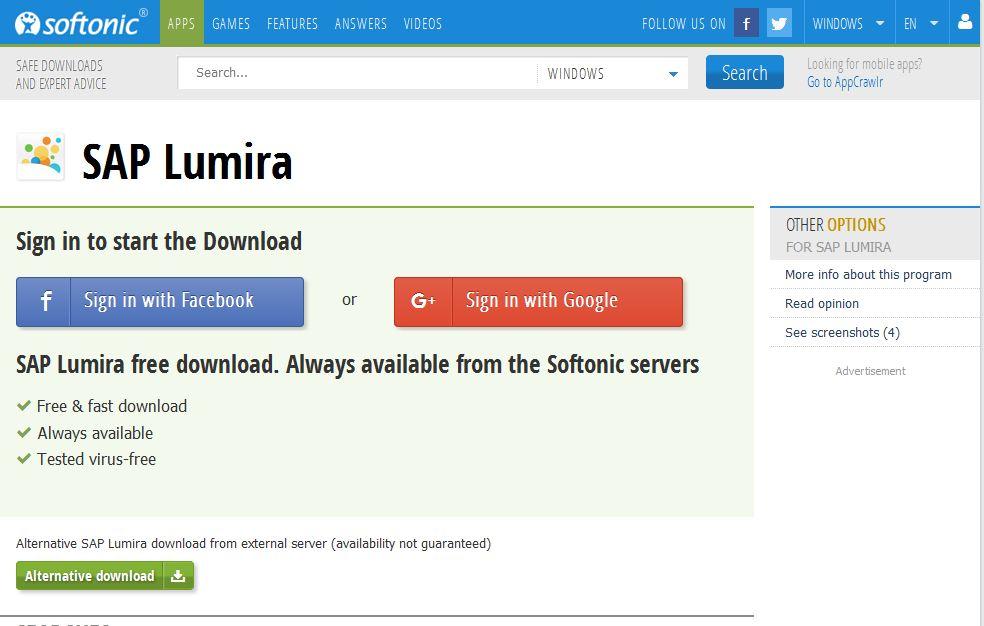
- Sign in with any account shown (Preferably google)

- Download the latest version into your local Computer
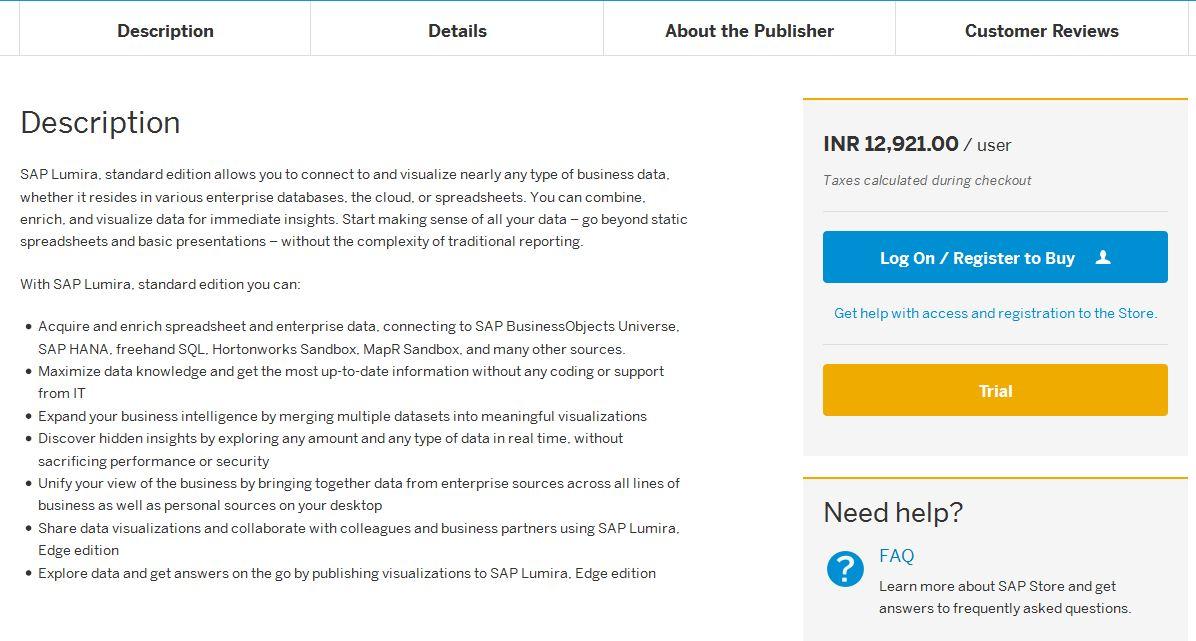
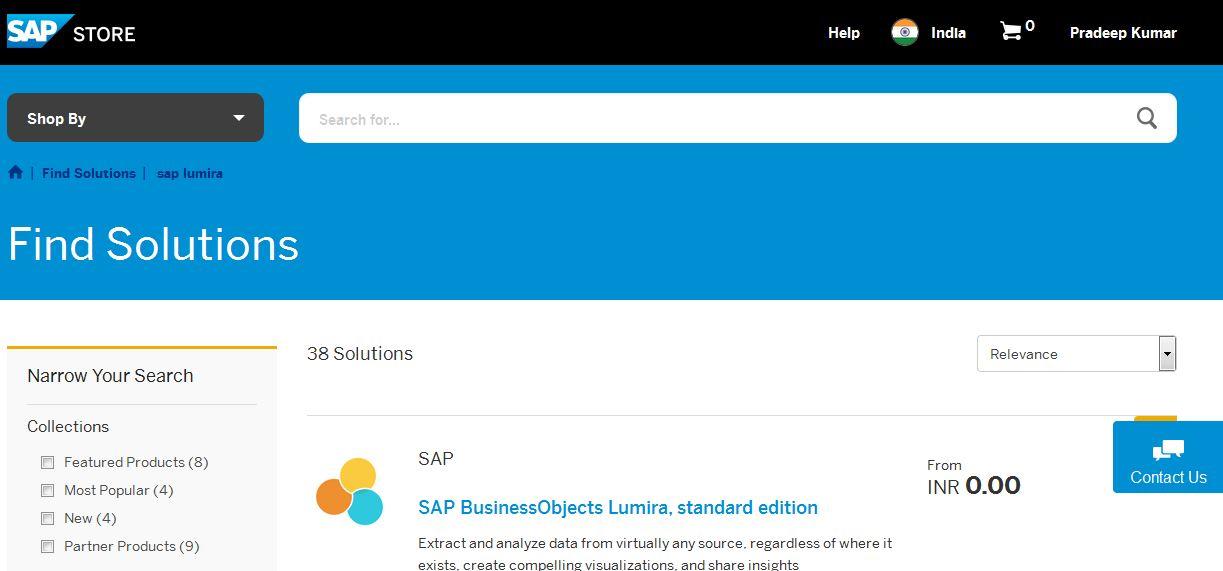
- Click on Trial for Trial Version
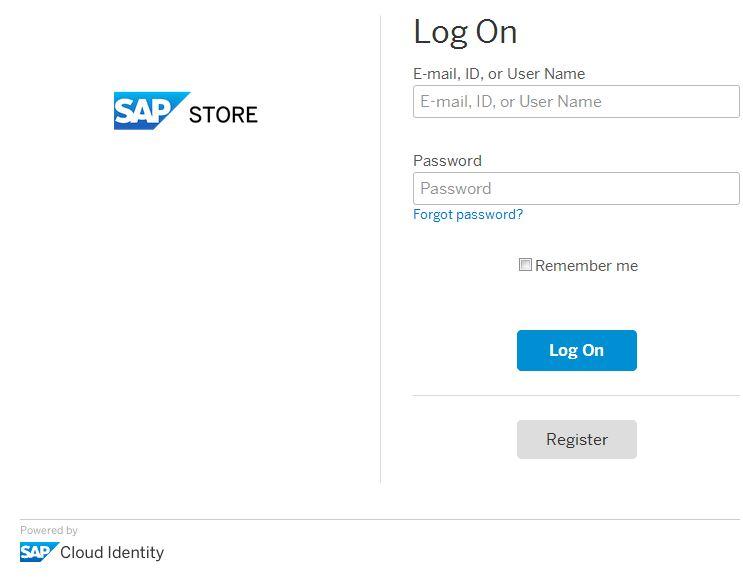
- Log in to SAP Store with your SAP Cloud Identity
- Select SAP LUMIRA Standard Edition free trial
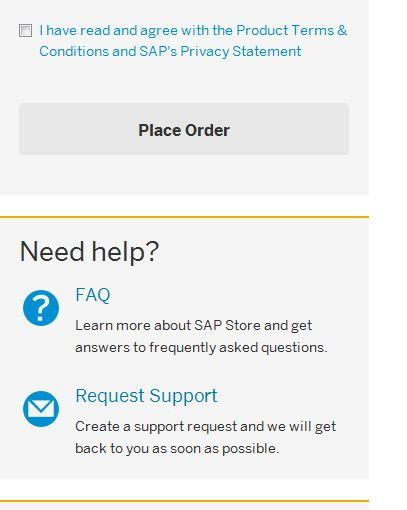
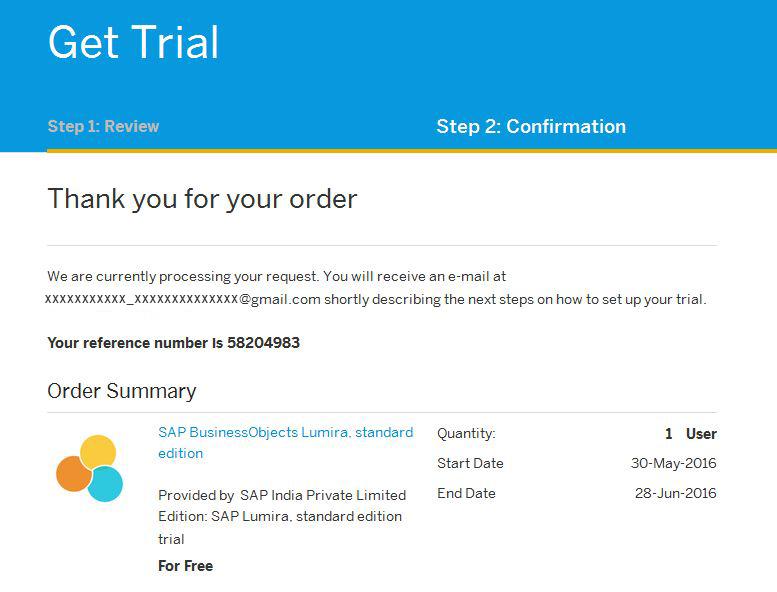
- Review your account Information, accept terms and Place order
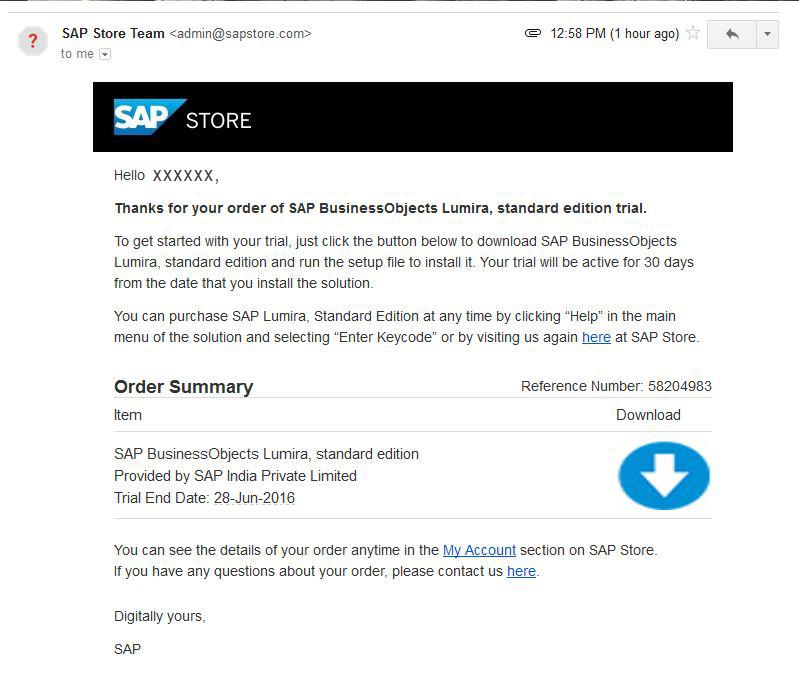
- You will receive an e-mail with Reference Number from SAP Store Team, shortly describing the next steps on how to set up your trial.
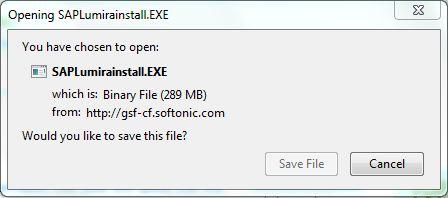
- Download the software file to your local computer
Step: 2
Installation:
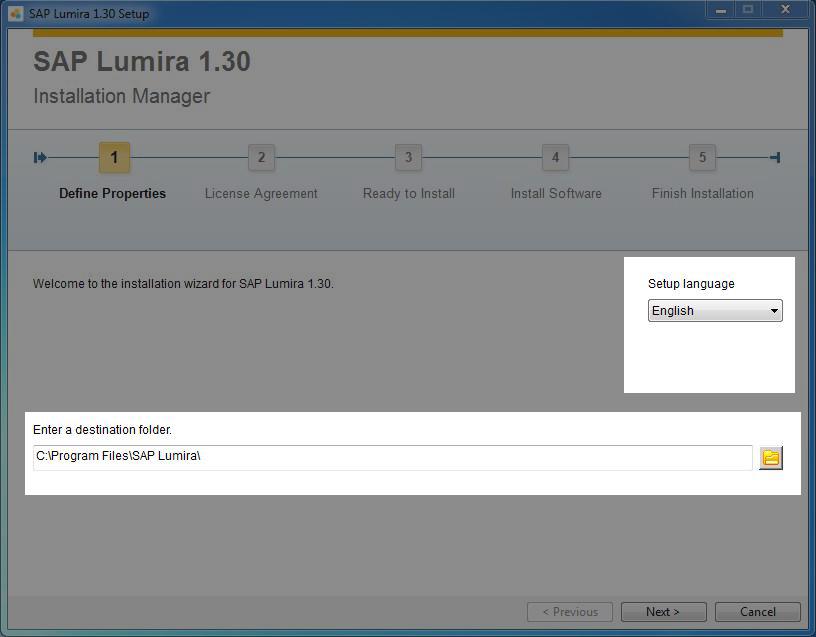
- Open the folder in which the software exists and double click on it

- Choose a setup language and a destination folder then click next button
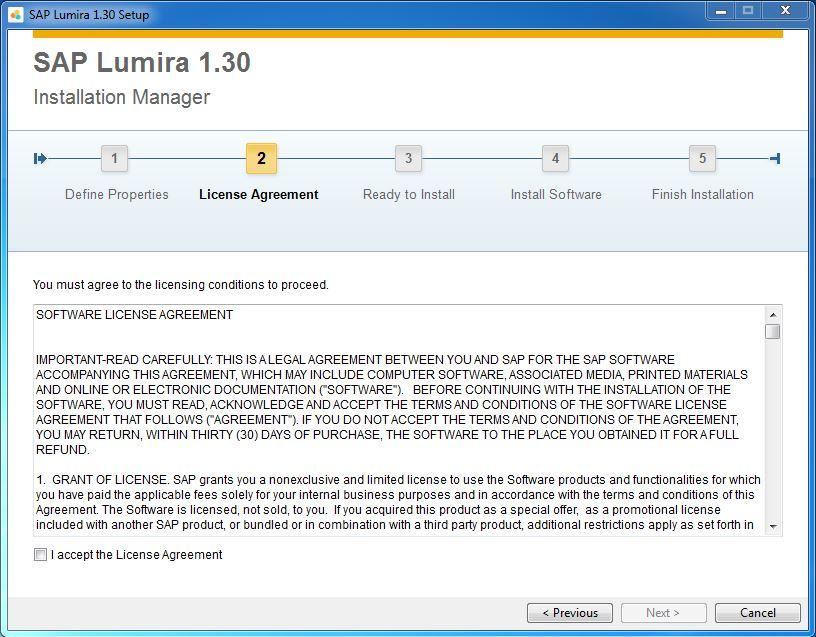
- Accept the license agreement and click next button
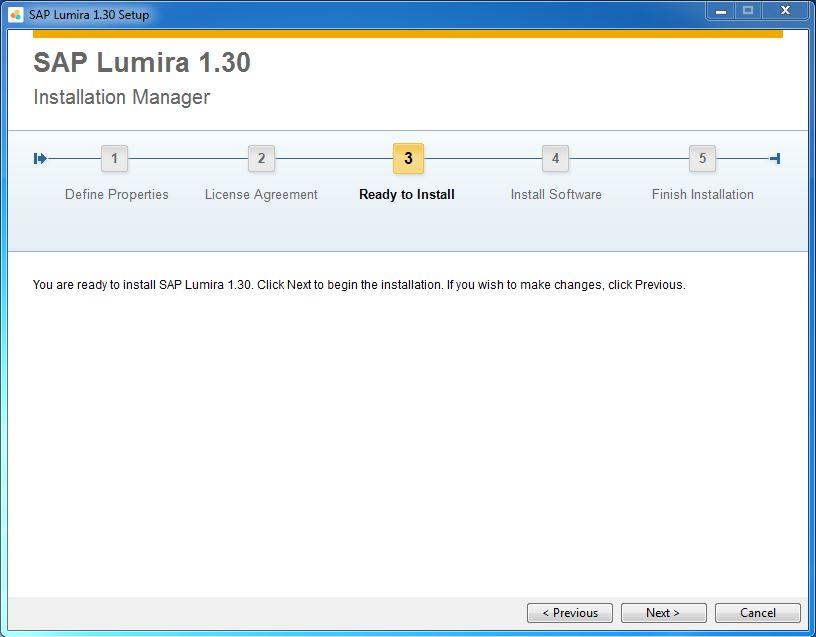
- If you want to change any content click previous button else click next button
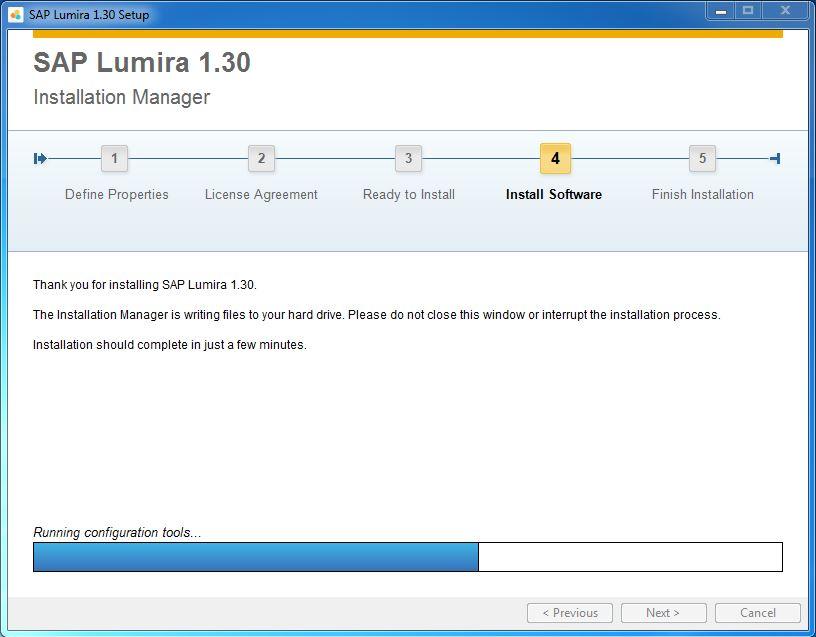
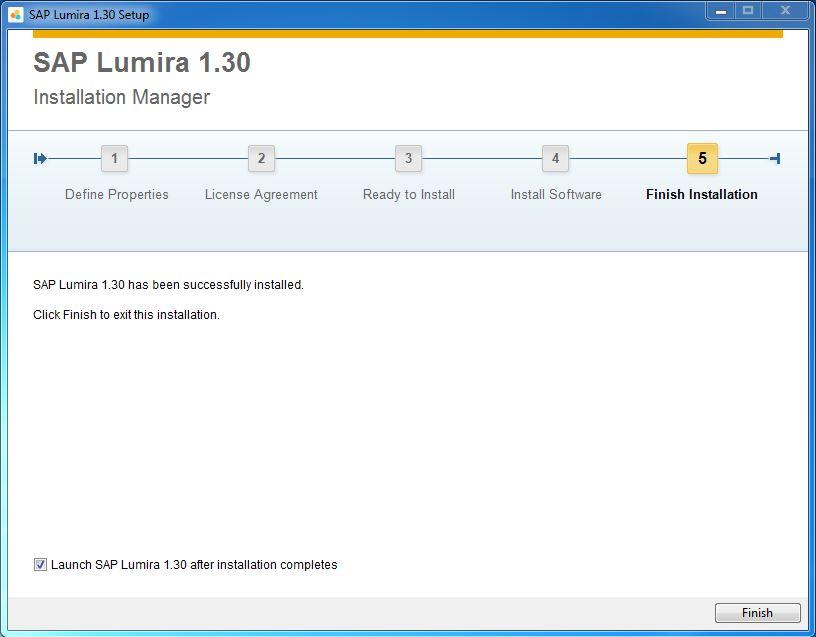
- The software is being installed and make sure that the window is not closed till installation is in progress
- Click finish to complete the installation process
Step: 3
Add New Dataset:
- From Home screen, click new document to add a new document
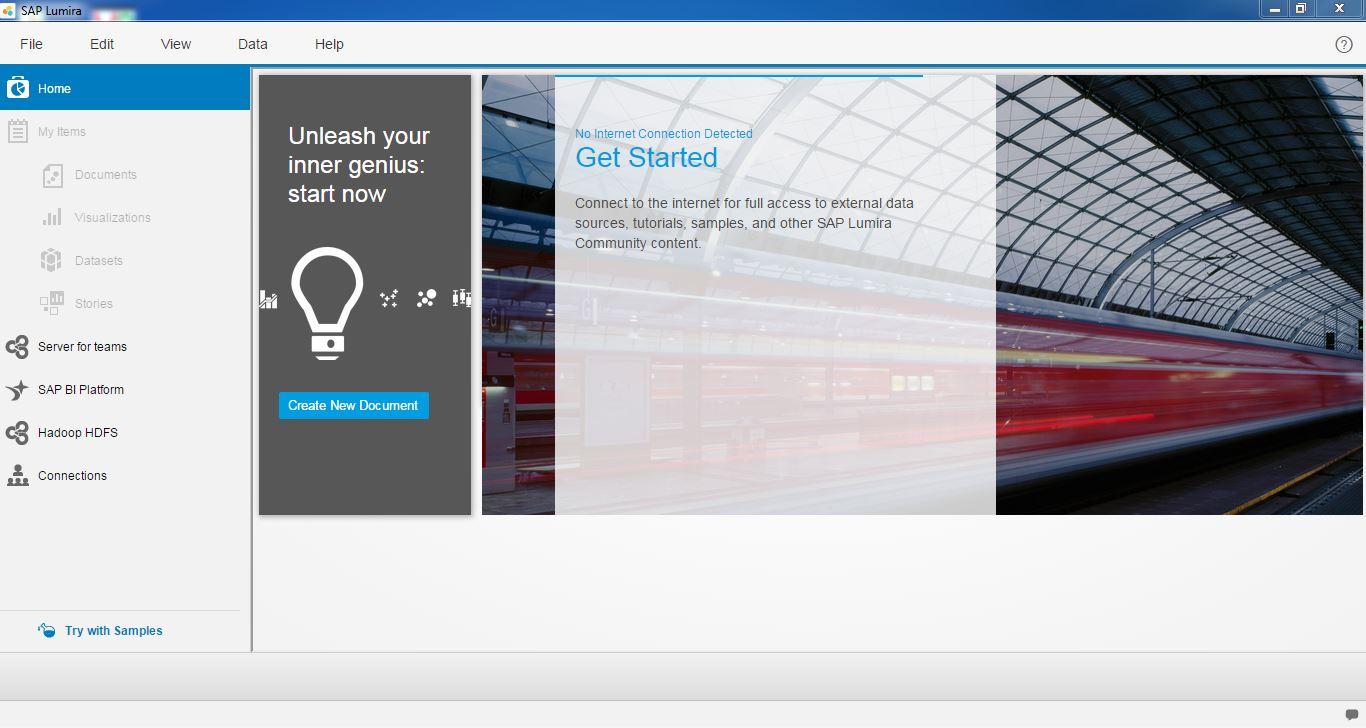
- A pop up screen appears, where you can select different sources of dataset

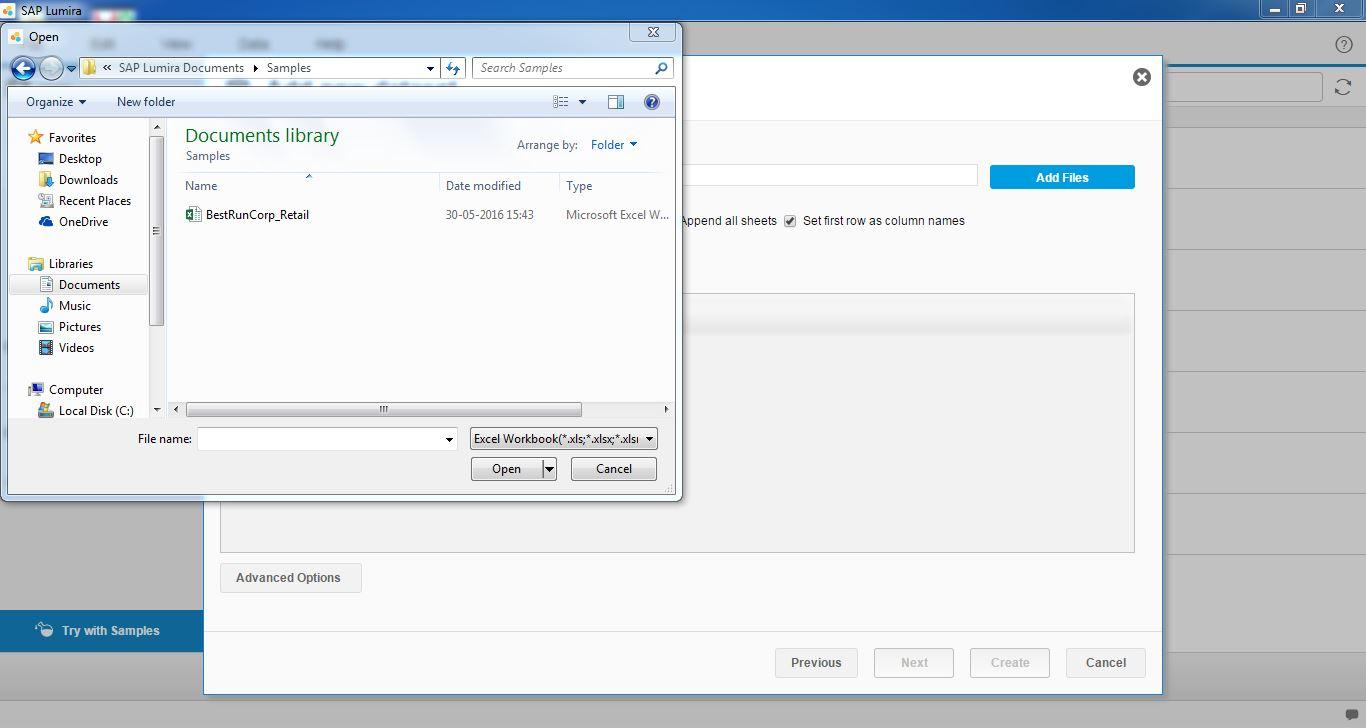
- For example, let us select a Microsoft Excel sheet as a source document and click next

- Choose an Excel sheet residing on your local computer to create the dataset
- Enter dataset name and check the check box set first row as column names and click on Create button
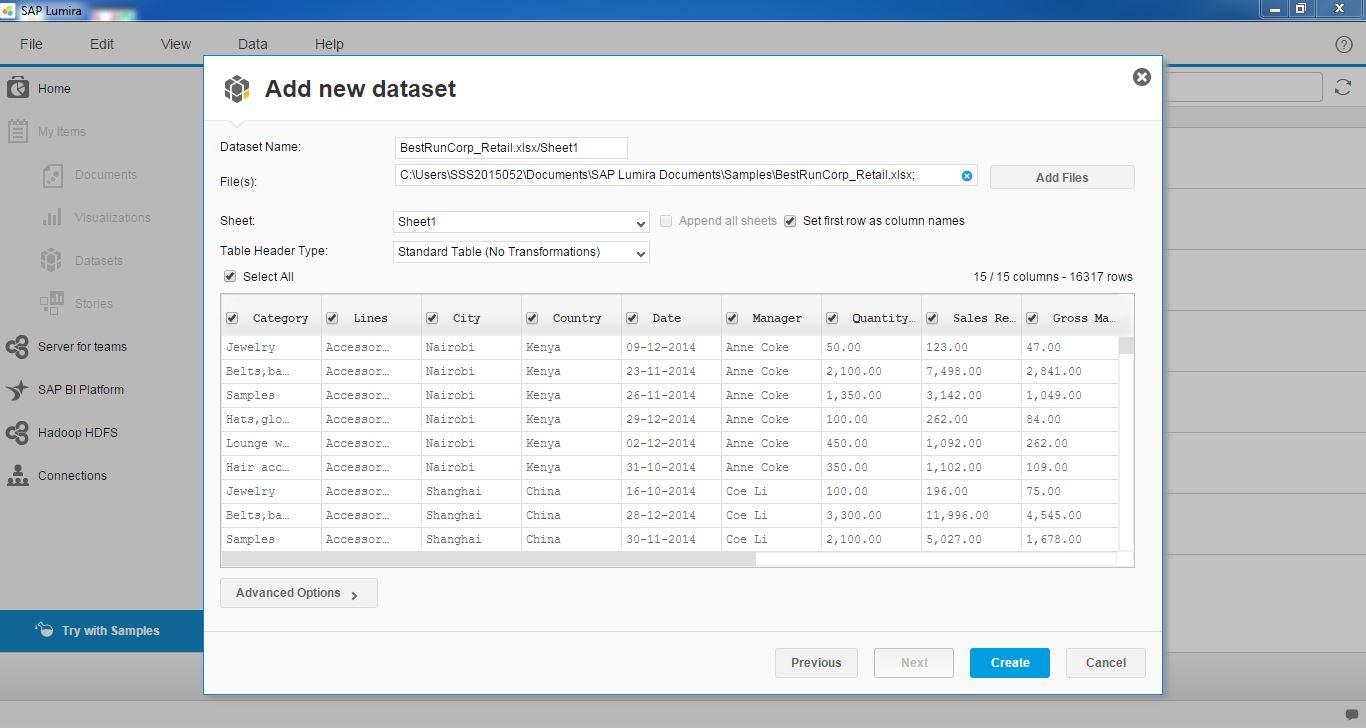
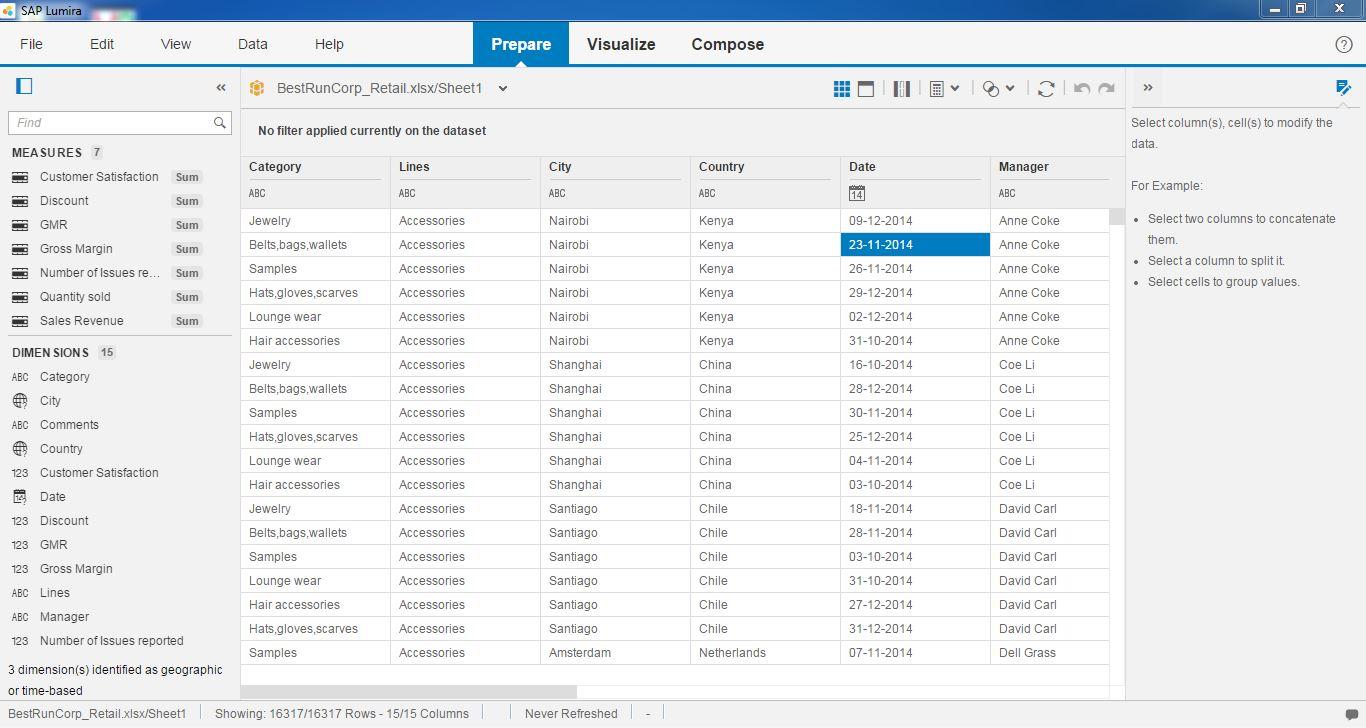
- Hence the dataset with dimensions and Measures has been created.
Step: 4
Connecting to Oracle Database:
- Open SAP LUMIRA
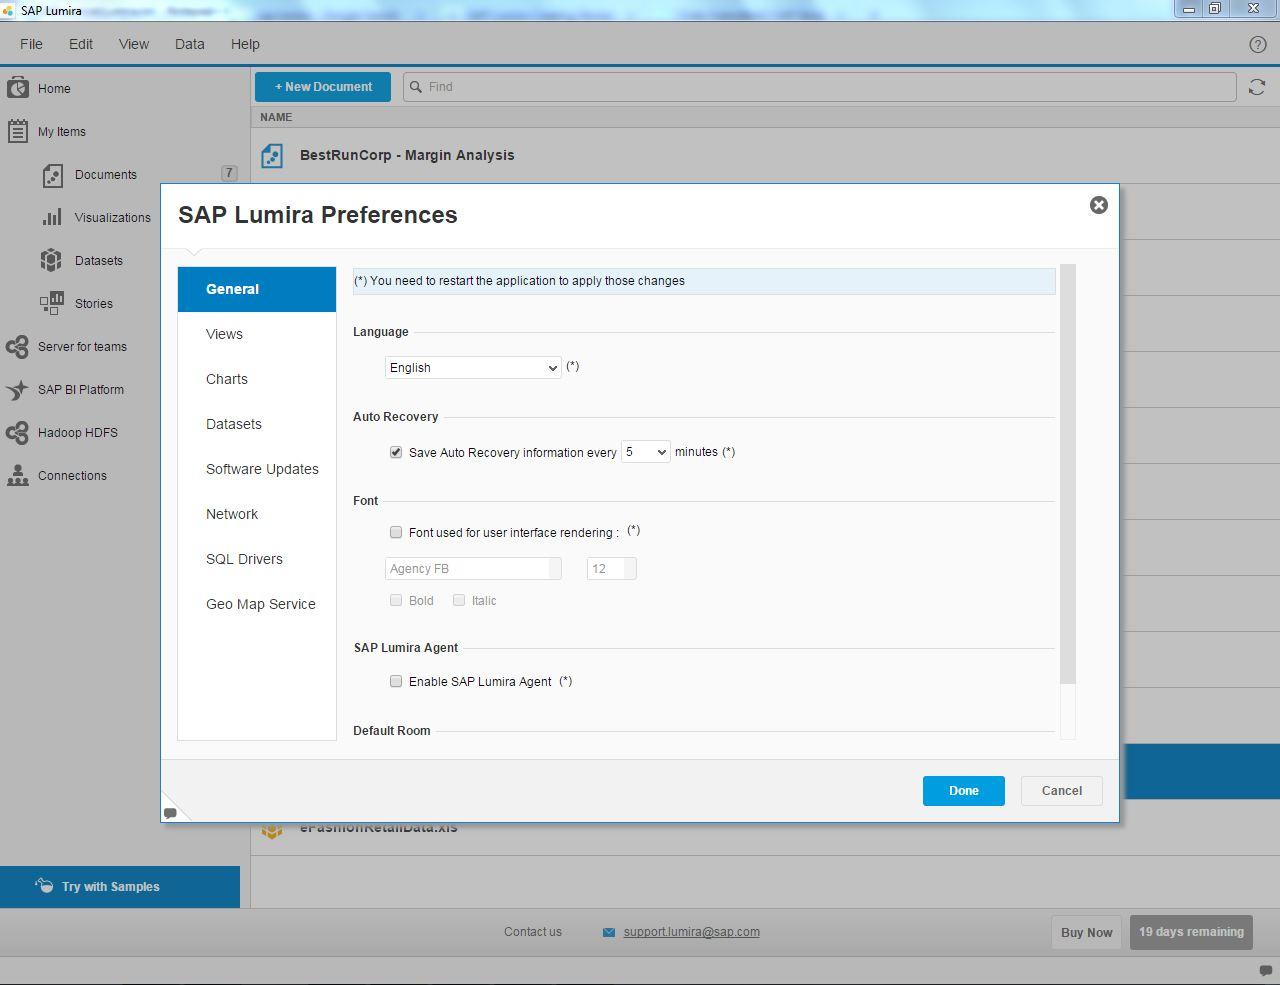
- Go to File-->Preferences

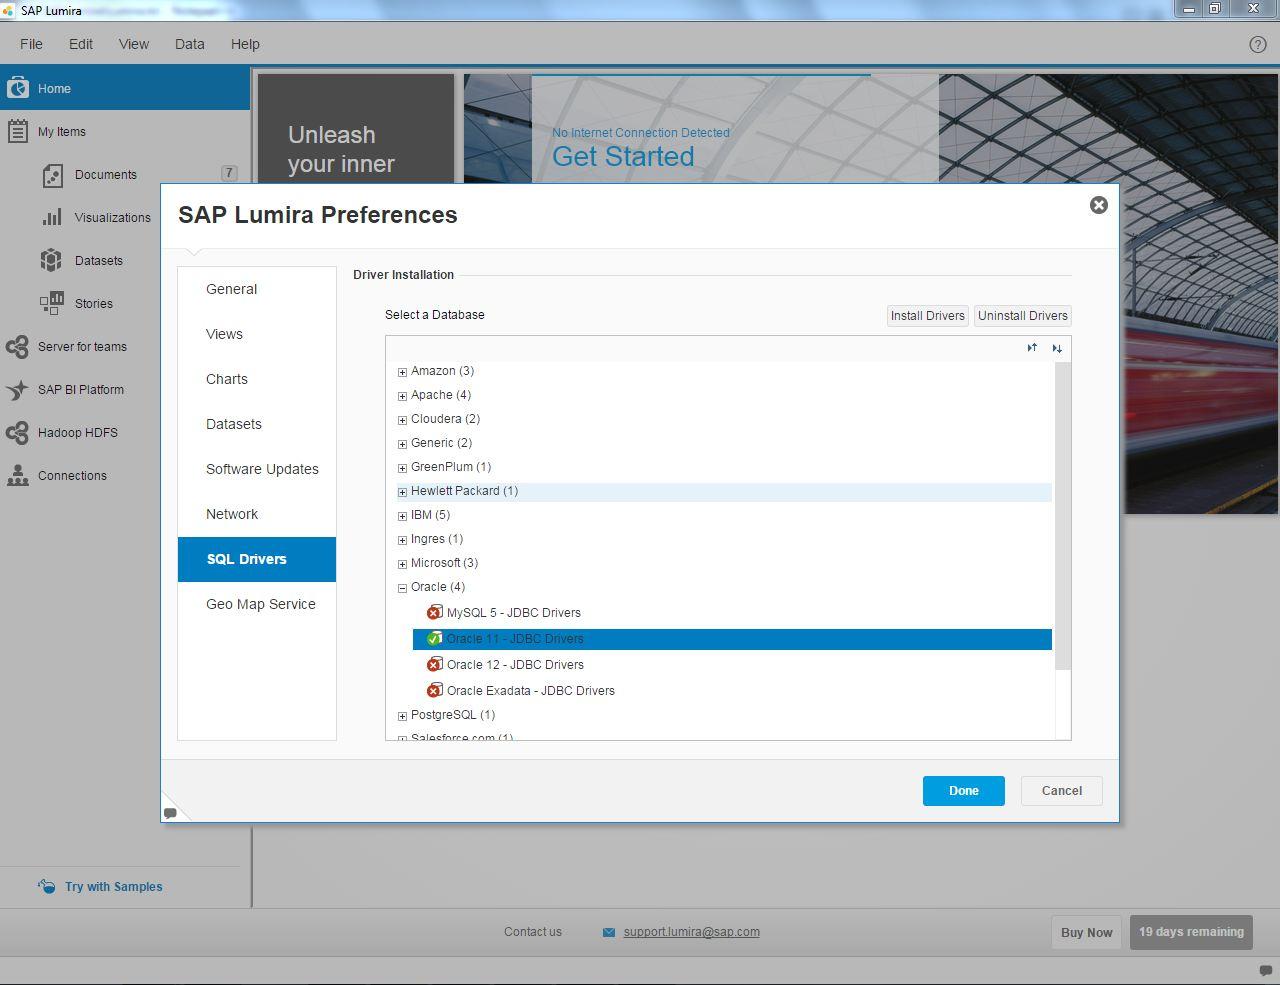
- A pop up screen with SAP LUMIRA Preference settings is displayed
- Select SQL drivers tab, here you have the list of all databases that you can connect to

- Let us select an Oracle database
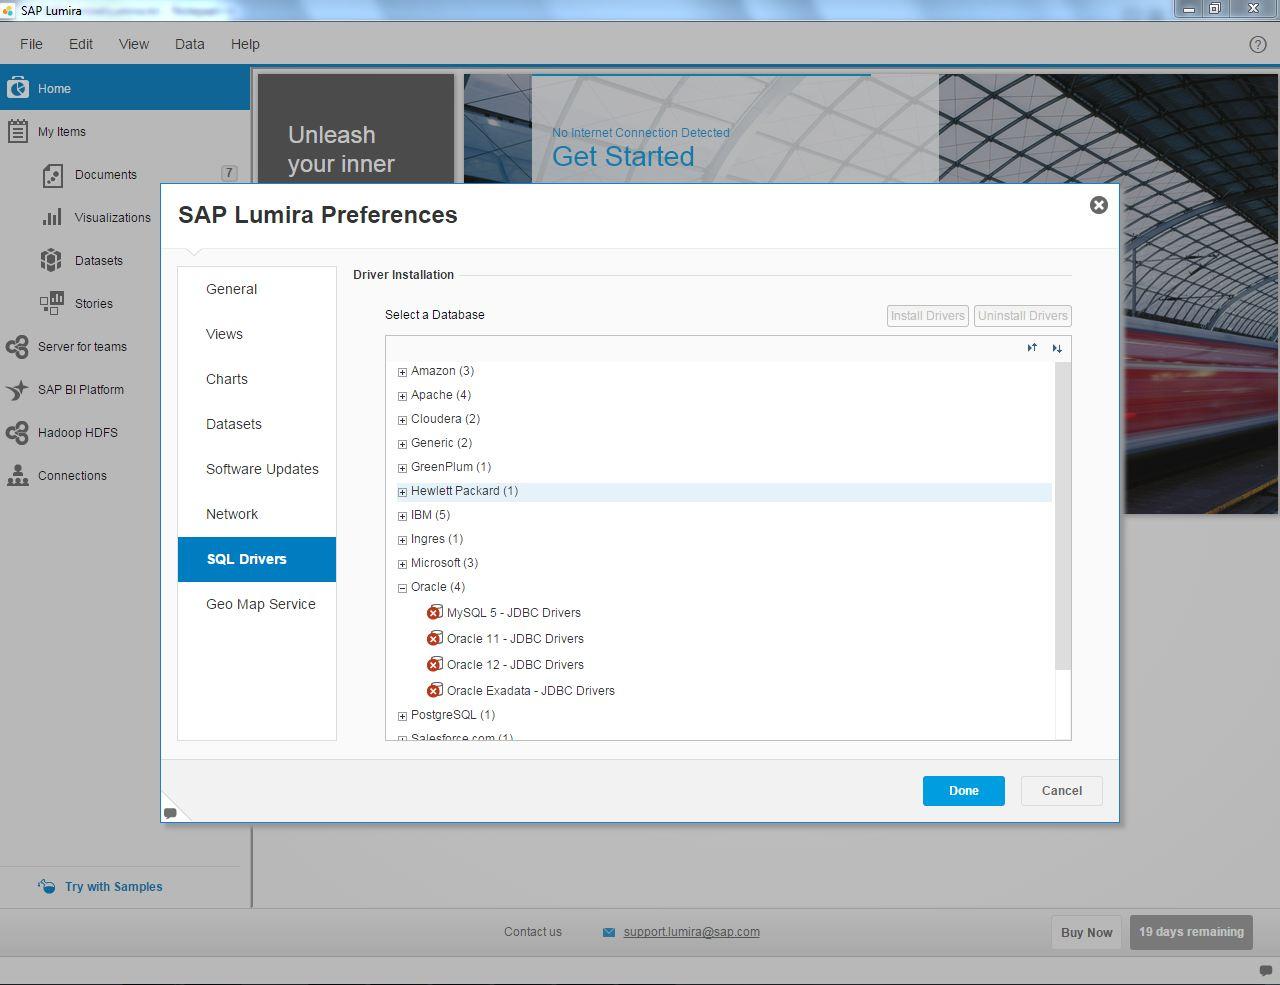
- Choose the version of Database you wish to connect and click on Install Drivers Button

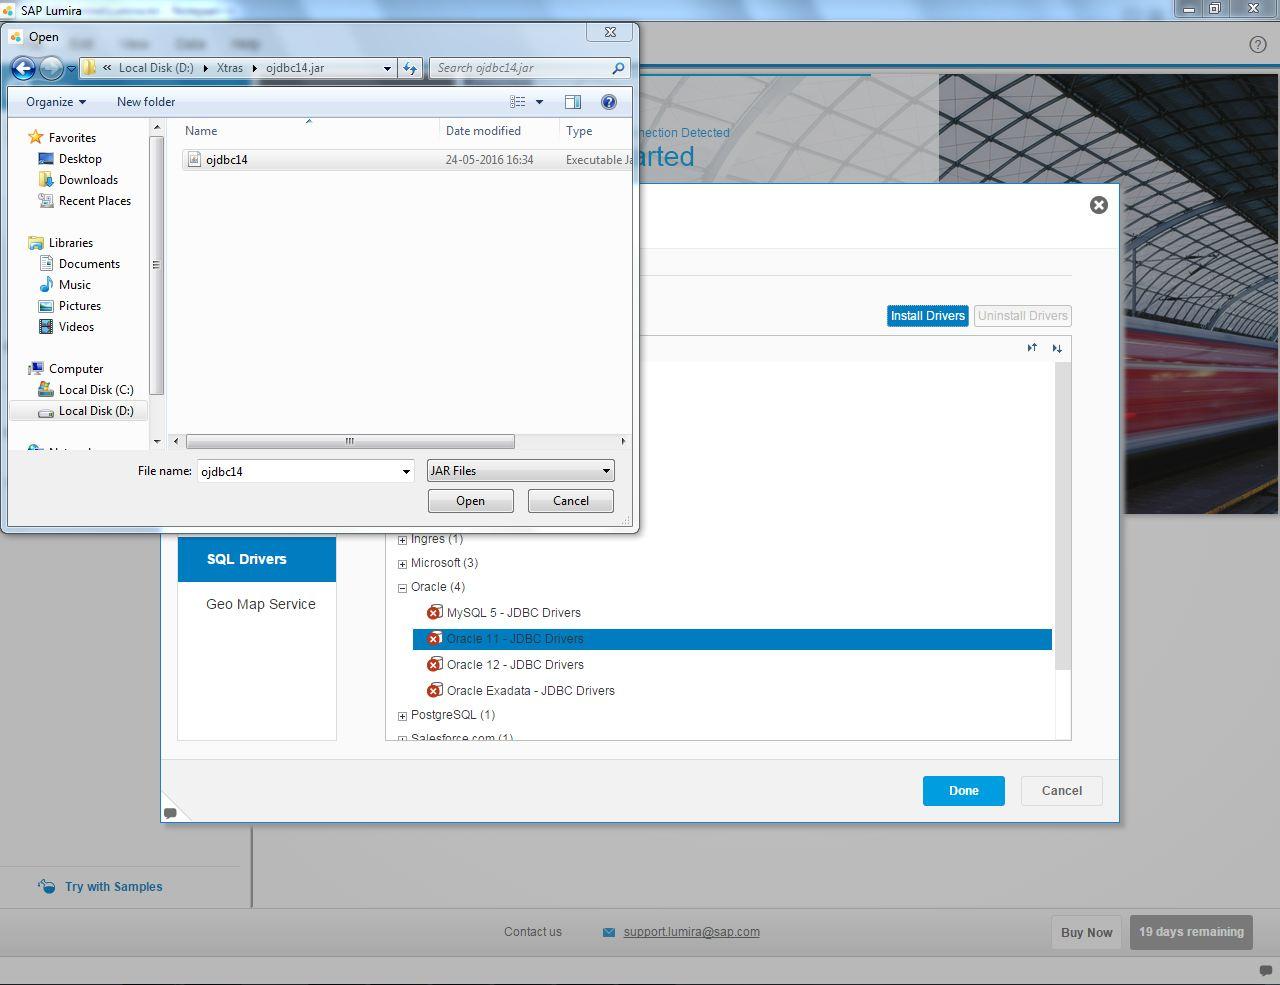
- Choose the path where the Driver for the Selected Database is present
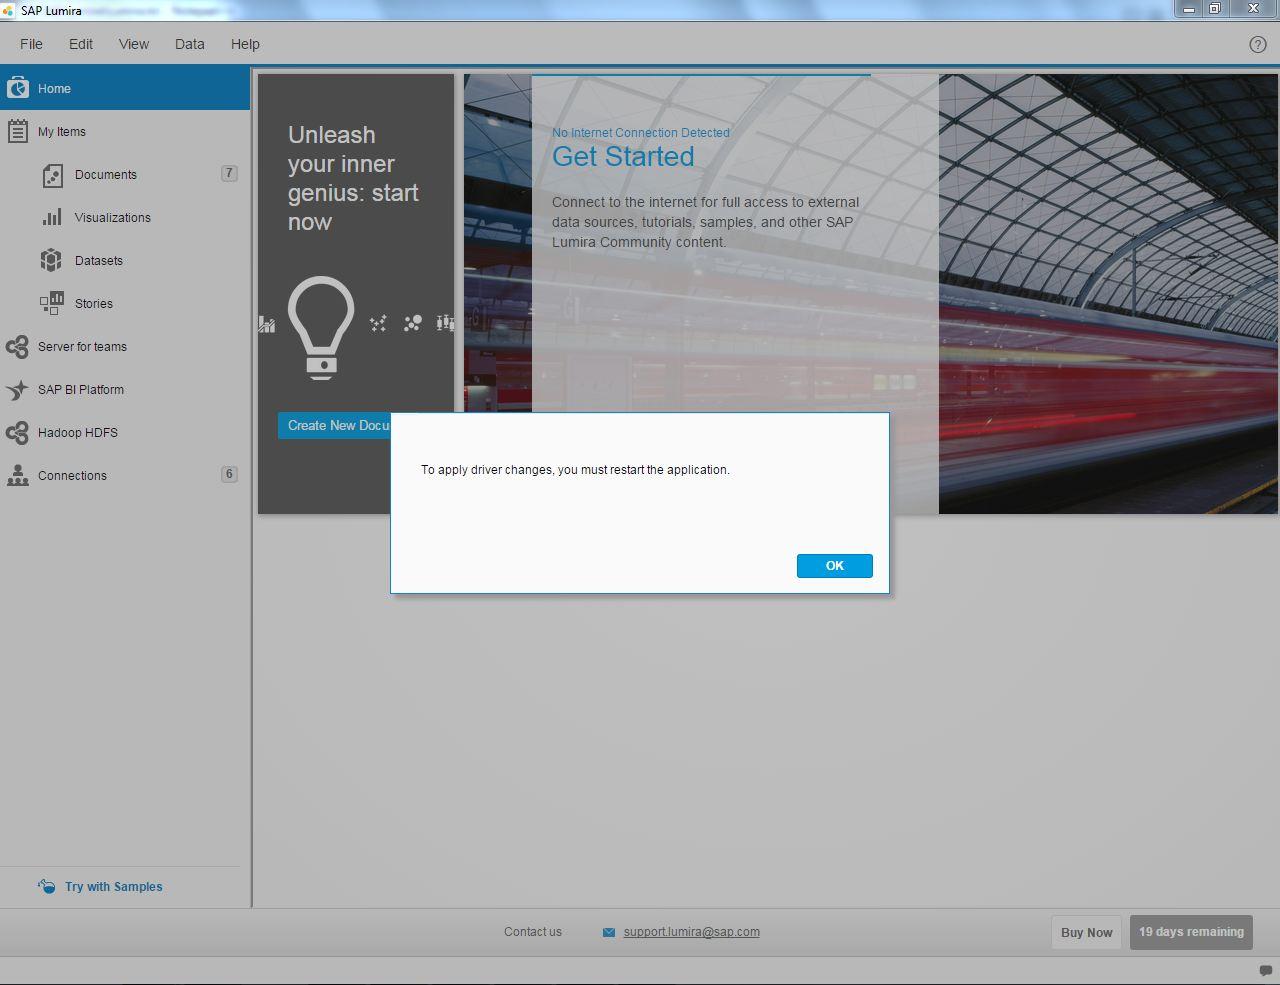
- The Symbol shows that SAP LUMIRA has been connected to the selected Database via the Driver. But, we need to restart the SAP LUMIRA for changes to apply
- Click OK and Restart the application
- Open SAP LUMIRA, go to File-->New
- Click on Query with SQL as data source option
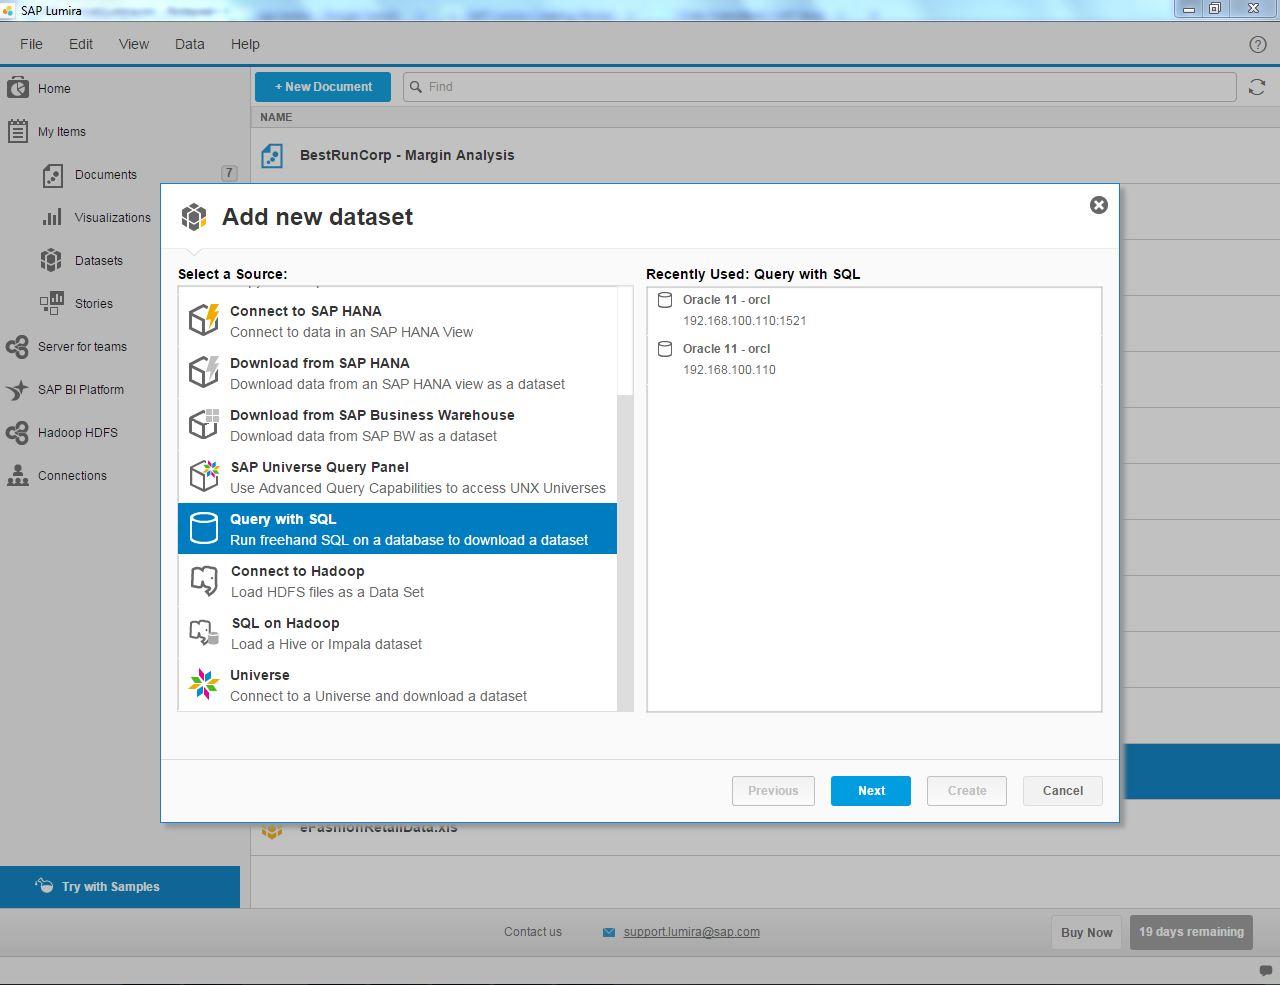
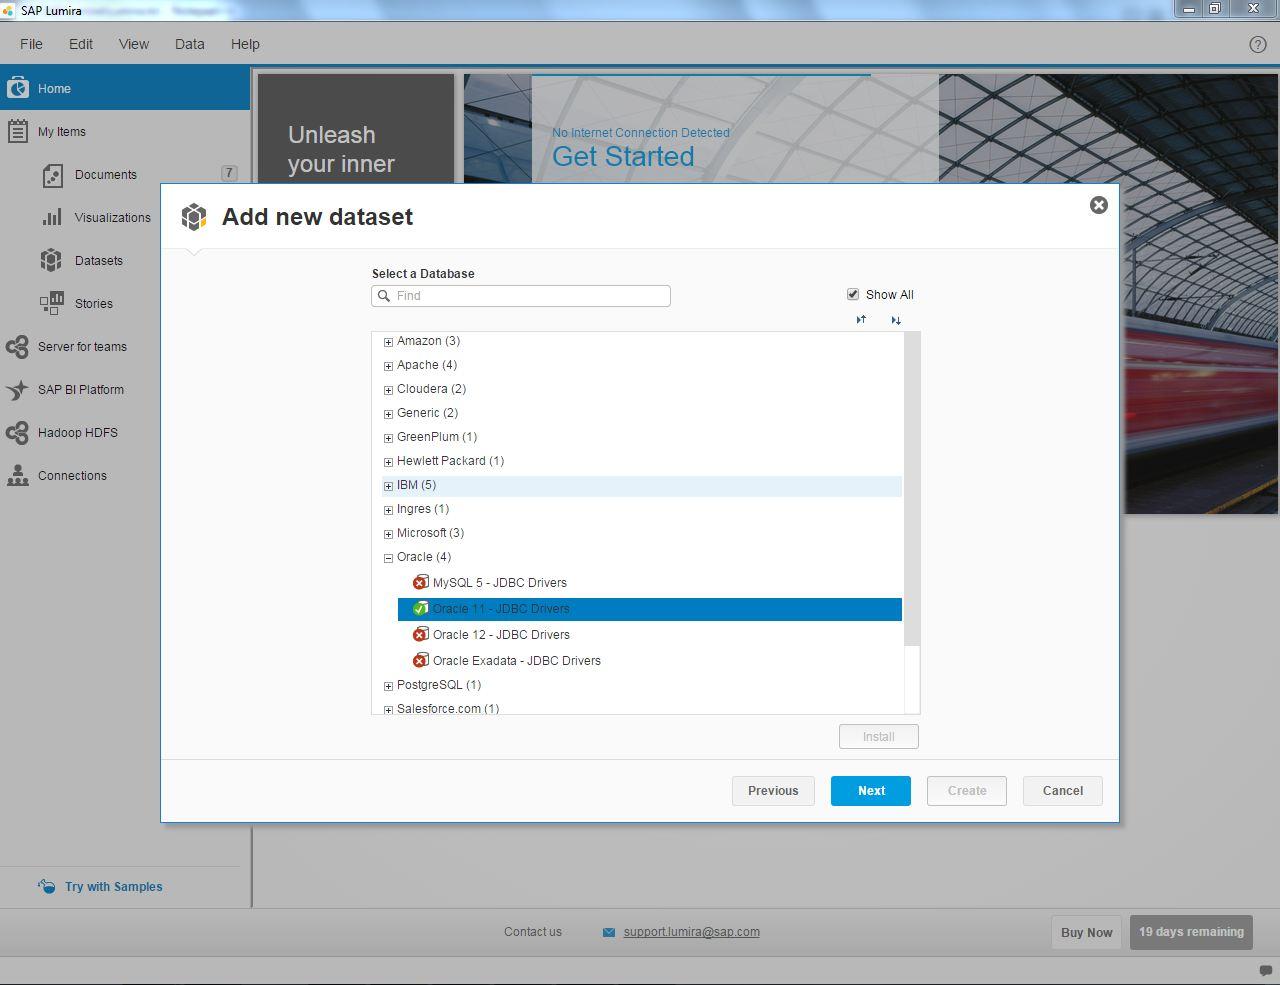
- Expand the Oracle database which you need to connect
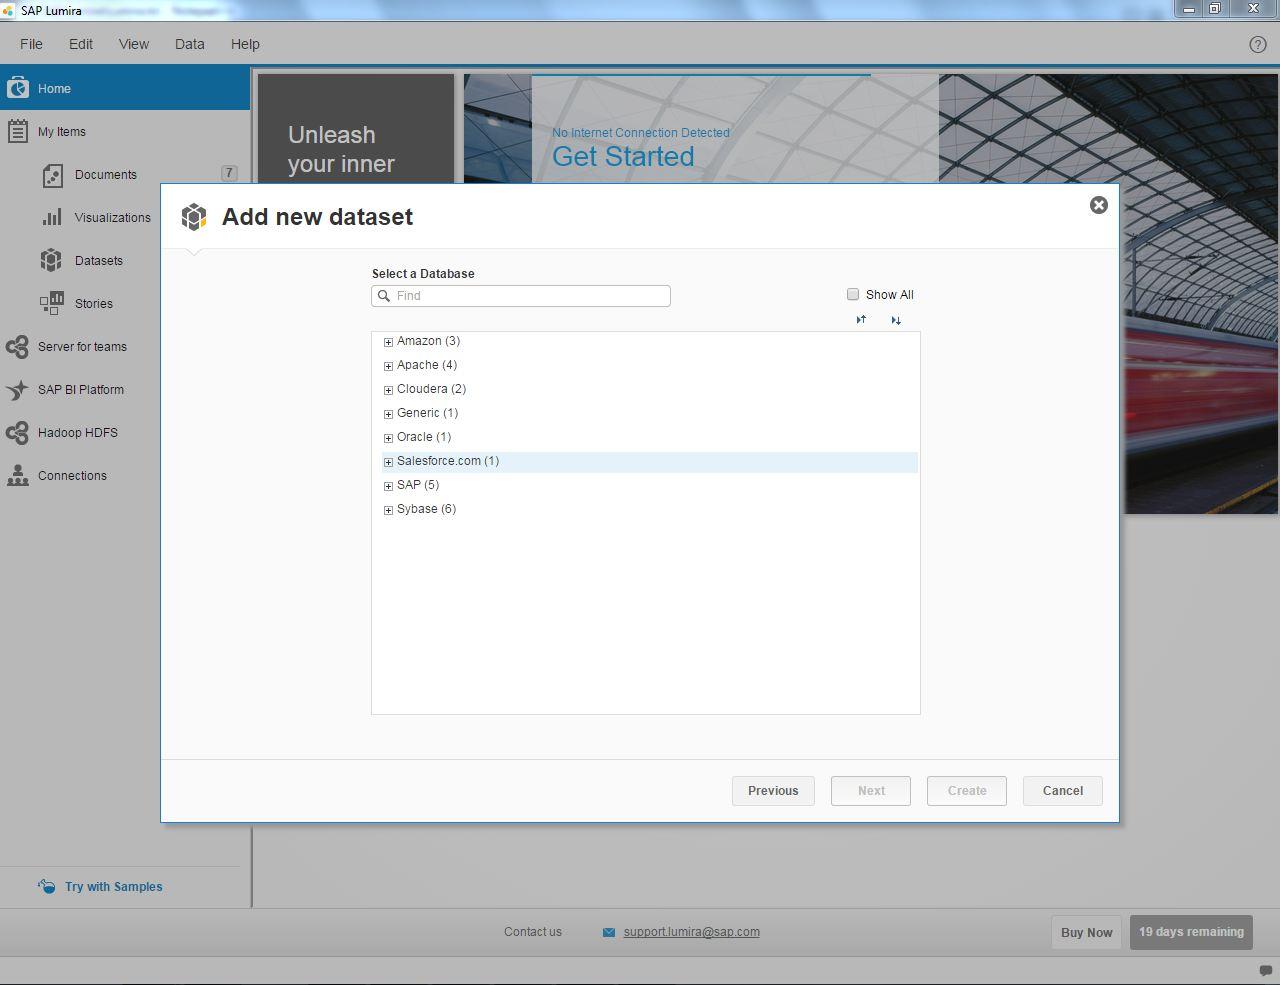
- Select the Database version for which the connection is established and click next
- Enter the credentials to connect the Database
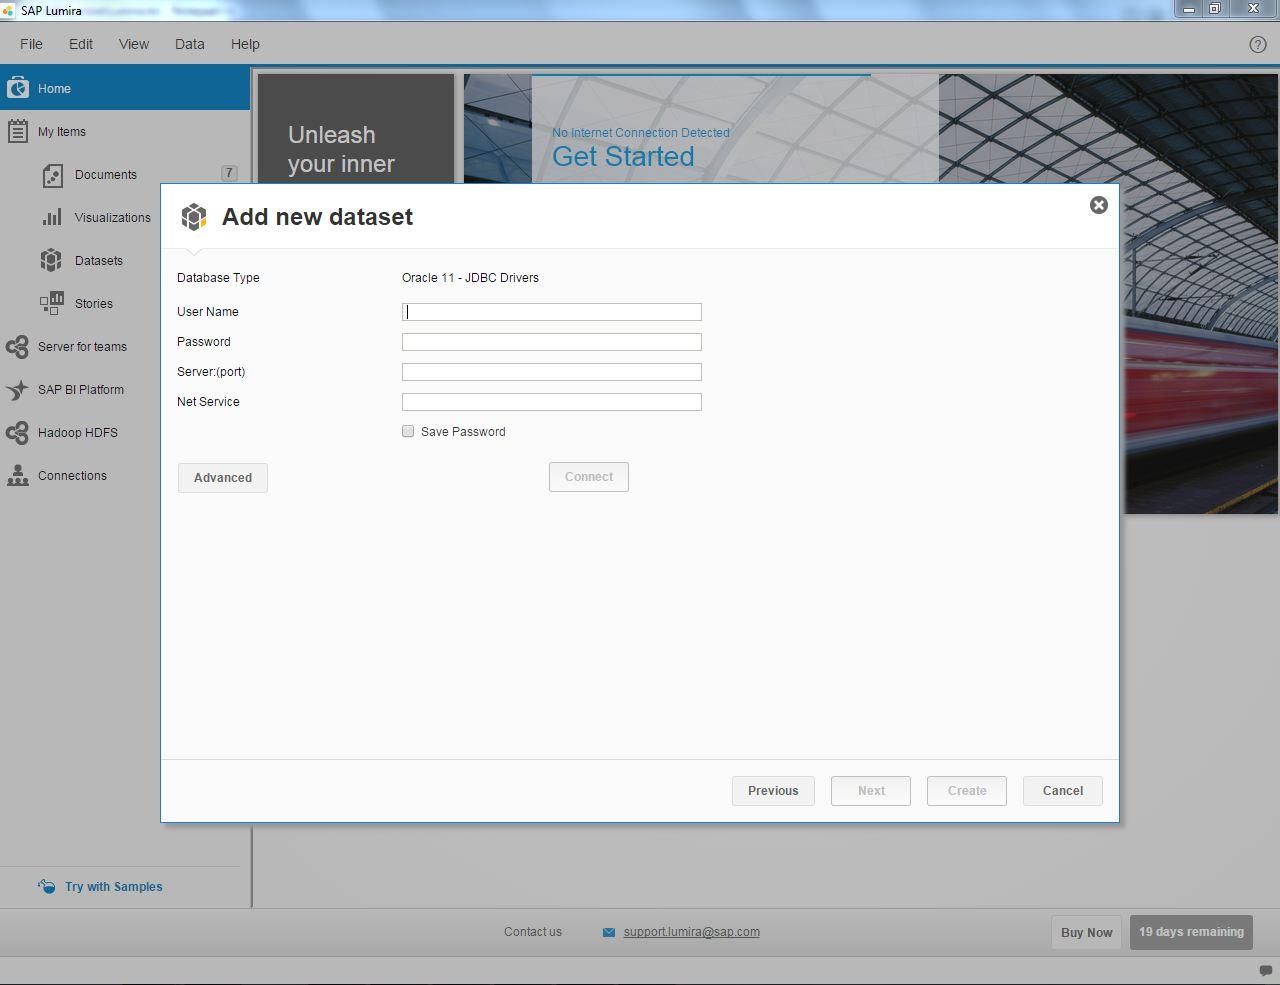
- Enter Database Credentials and Click on Connect Button
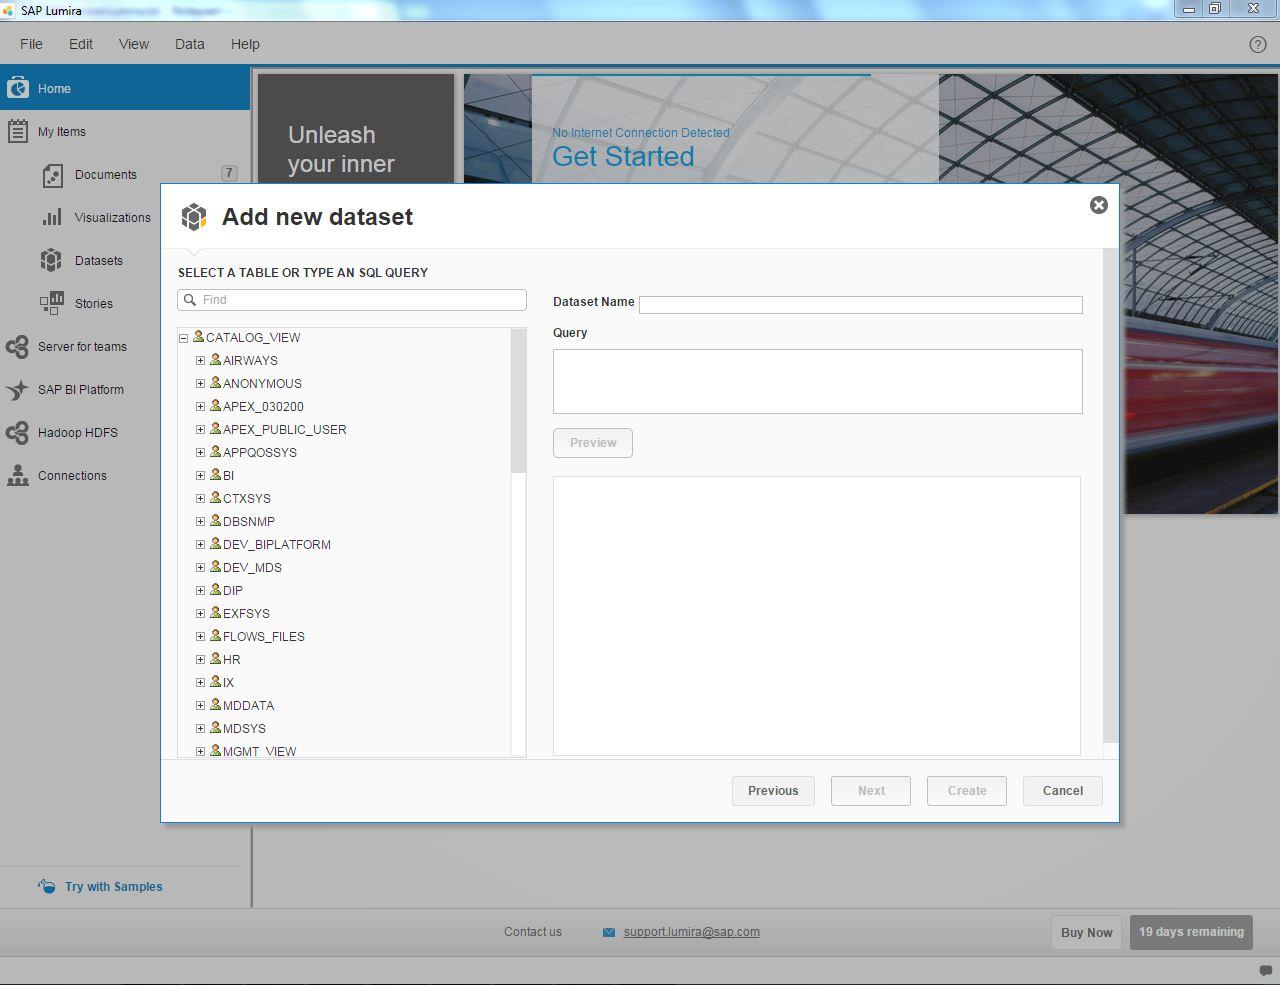
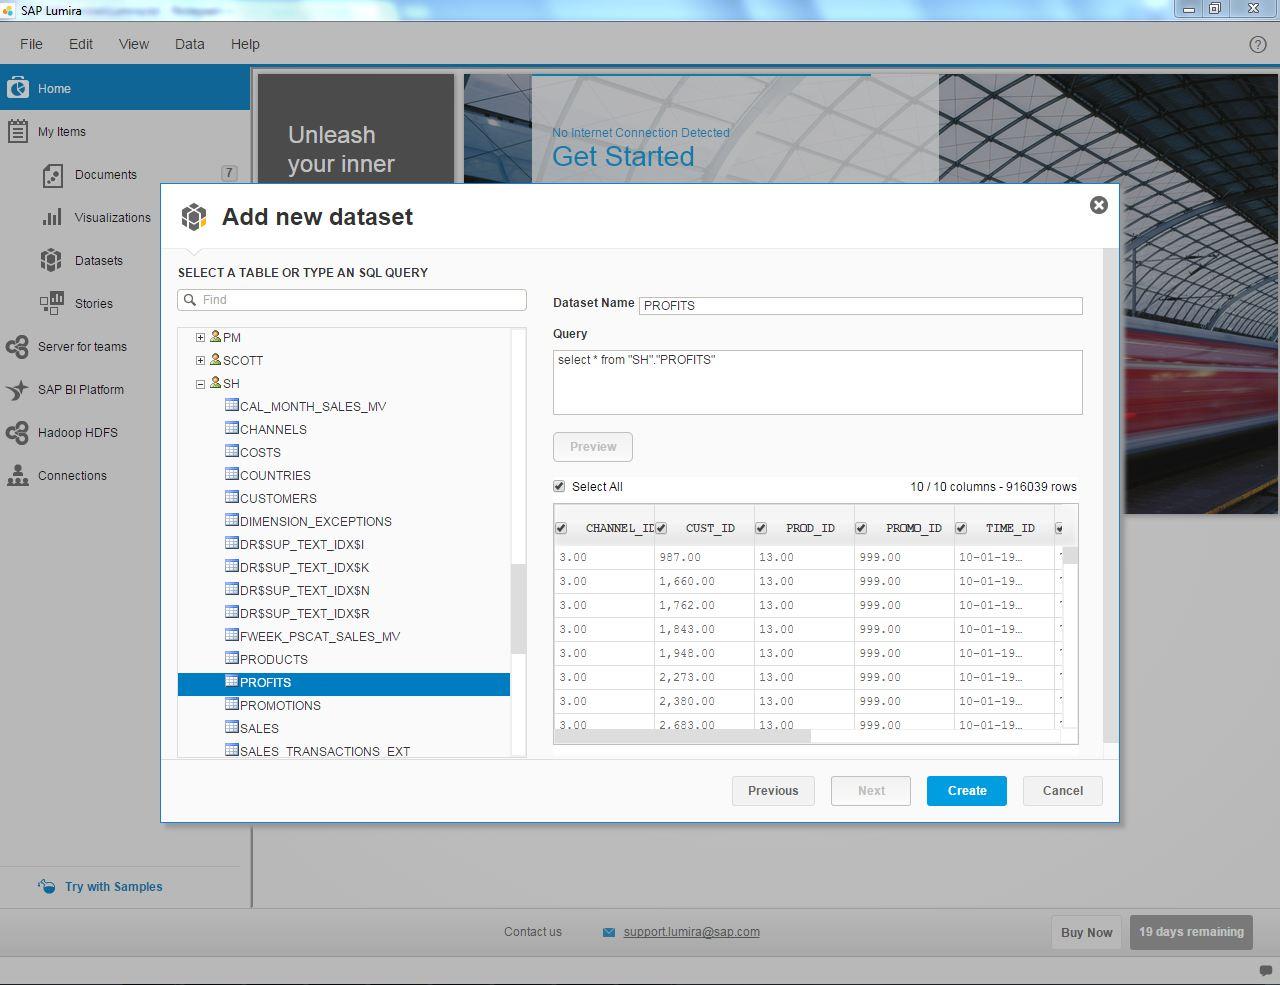
- Select a table from the list of Database schemas present in the Oracle Database
- Let us select Profits table in SH Schema and Query panel is automatically updated then click Preview Button
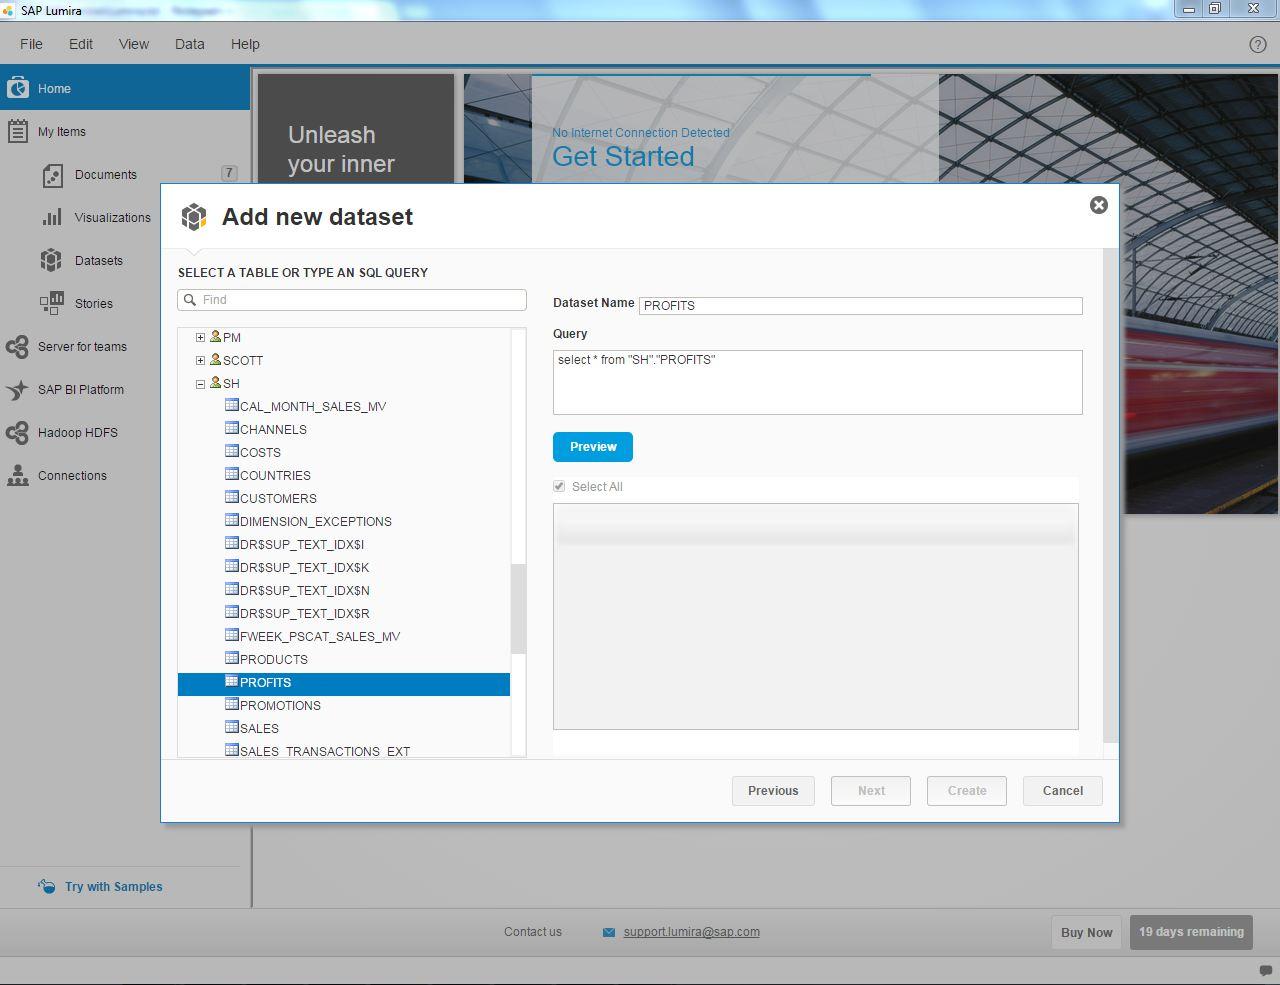
- We can Select a few or all columns from the table and click on Create Button to create our Dataset
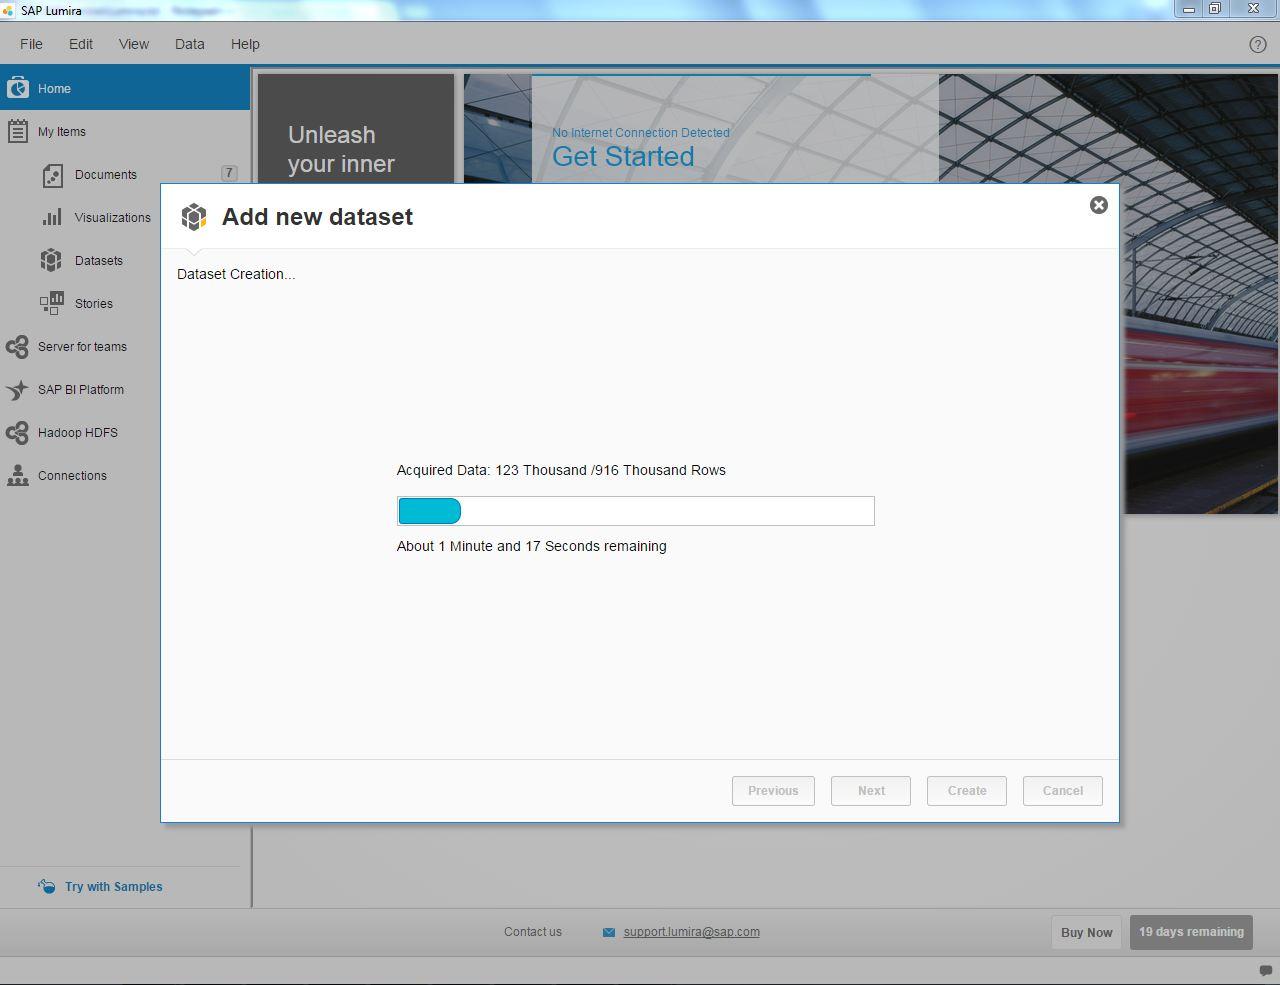
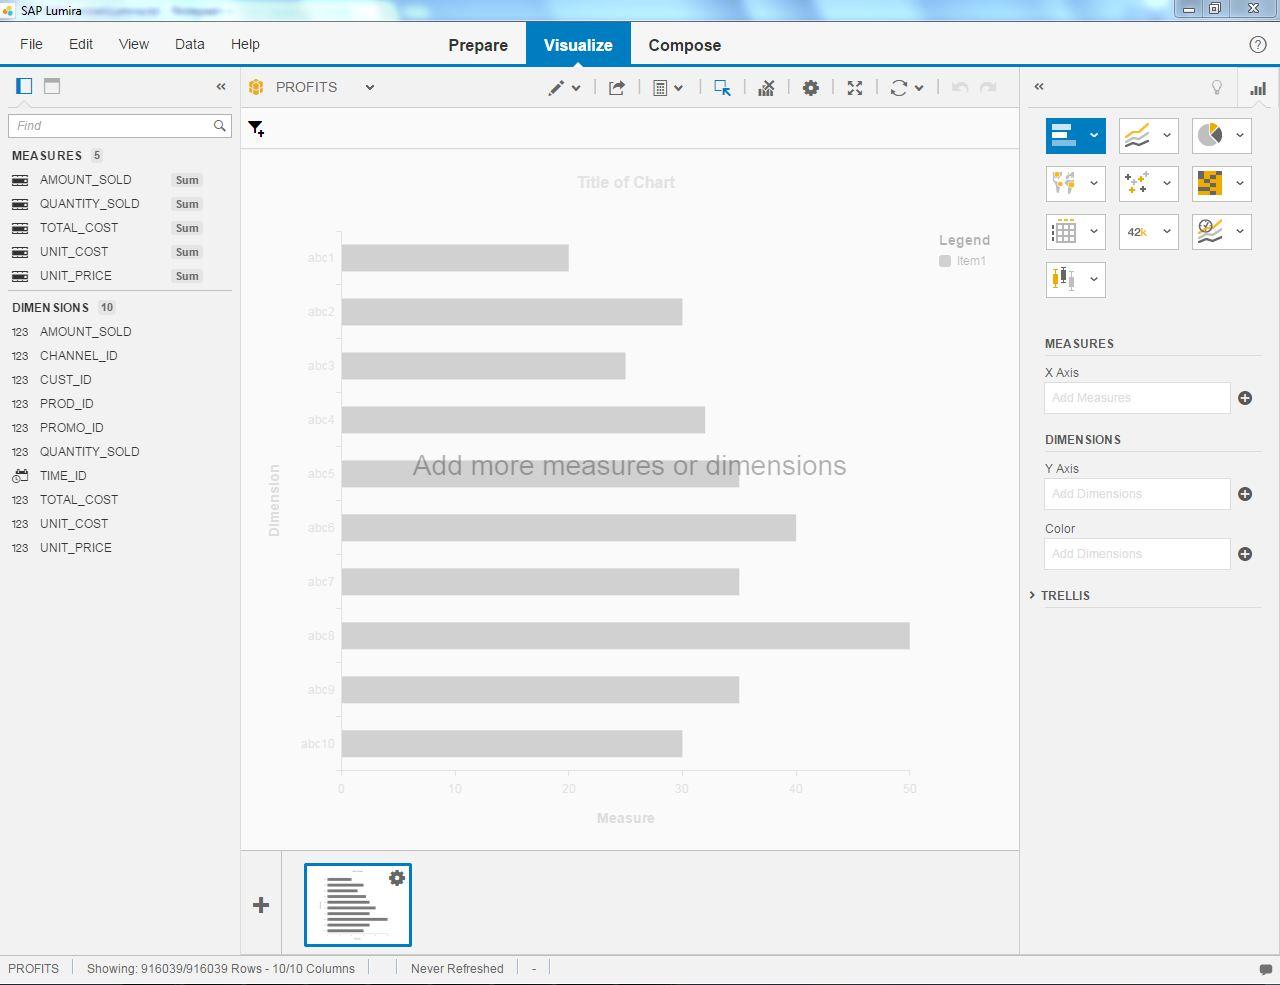
- The table data is extracted from the Oracle database and a dataset with Dimensions and Measures is created by SAP LUMIRA
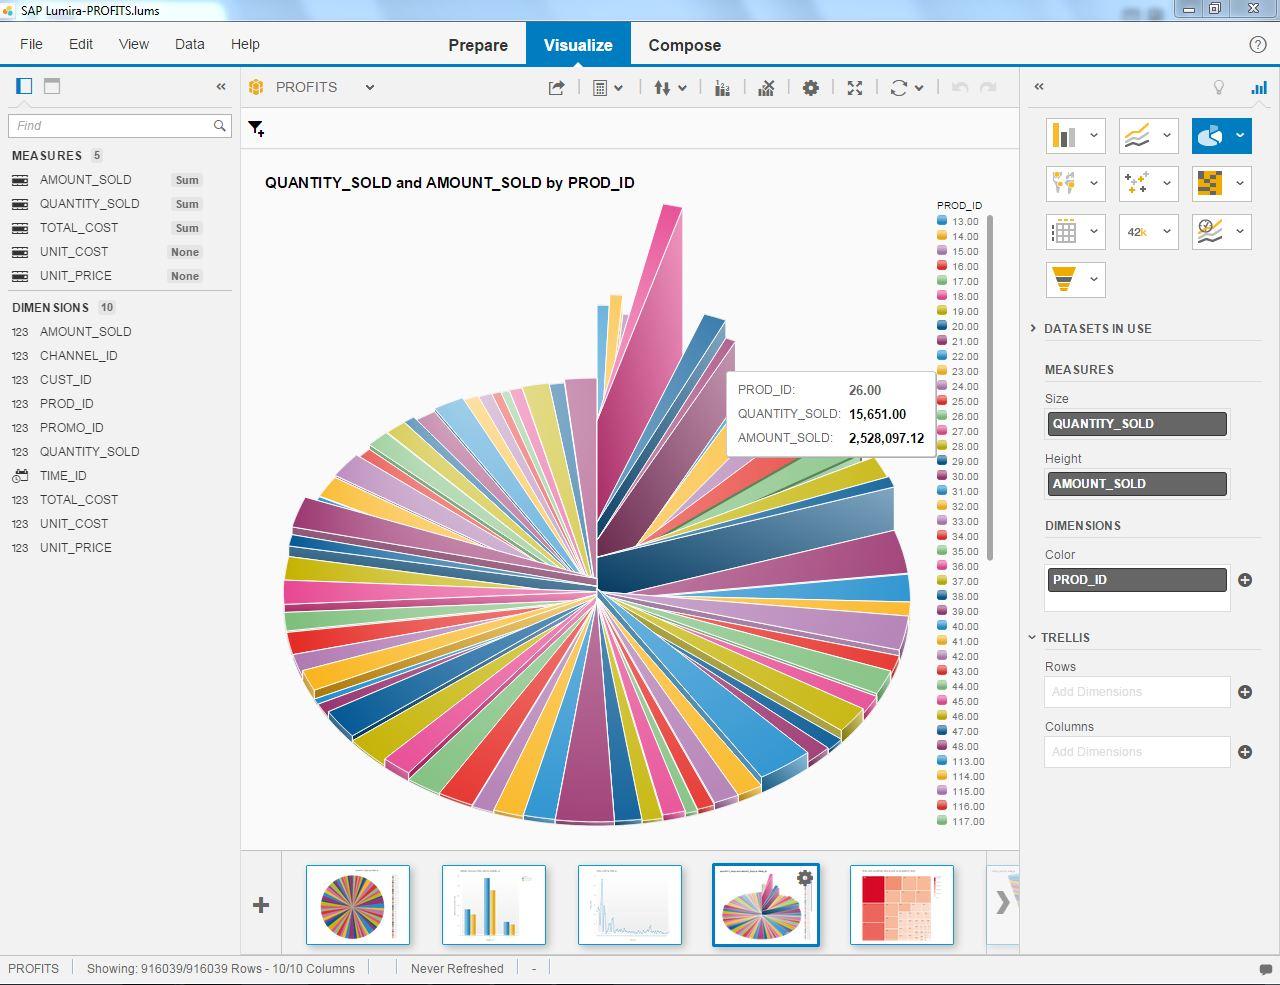
- Now, we can create any number of Visualizations and Share the Visualized Data
- Here is a sample visualization for the acquired dataset
Note:
- This is a Trial Version of Standard Edition hence, the Share Phase is not available but it is available for full version of SAP LUMIRA.
- To Explore the Share Phase tab it is recommended to install Personal Edition which has access to limited Data sources to Connect.